
Crypto Mining कैसे करें? Bitcoin hardware, बिजली का खर्च और शुरुआत की checklist
Technology & SecurityCrypto mining का beginner guide: proof of work, Bitcoin ASIC, mining pool, wallet, बिजली का calculation और setup से पहले जरूरी checks समझें।
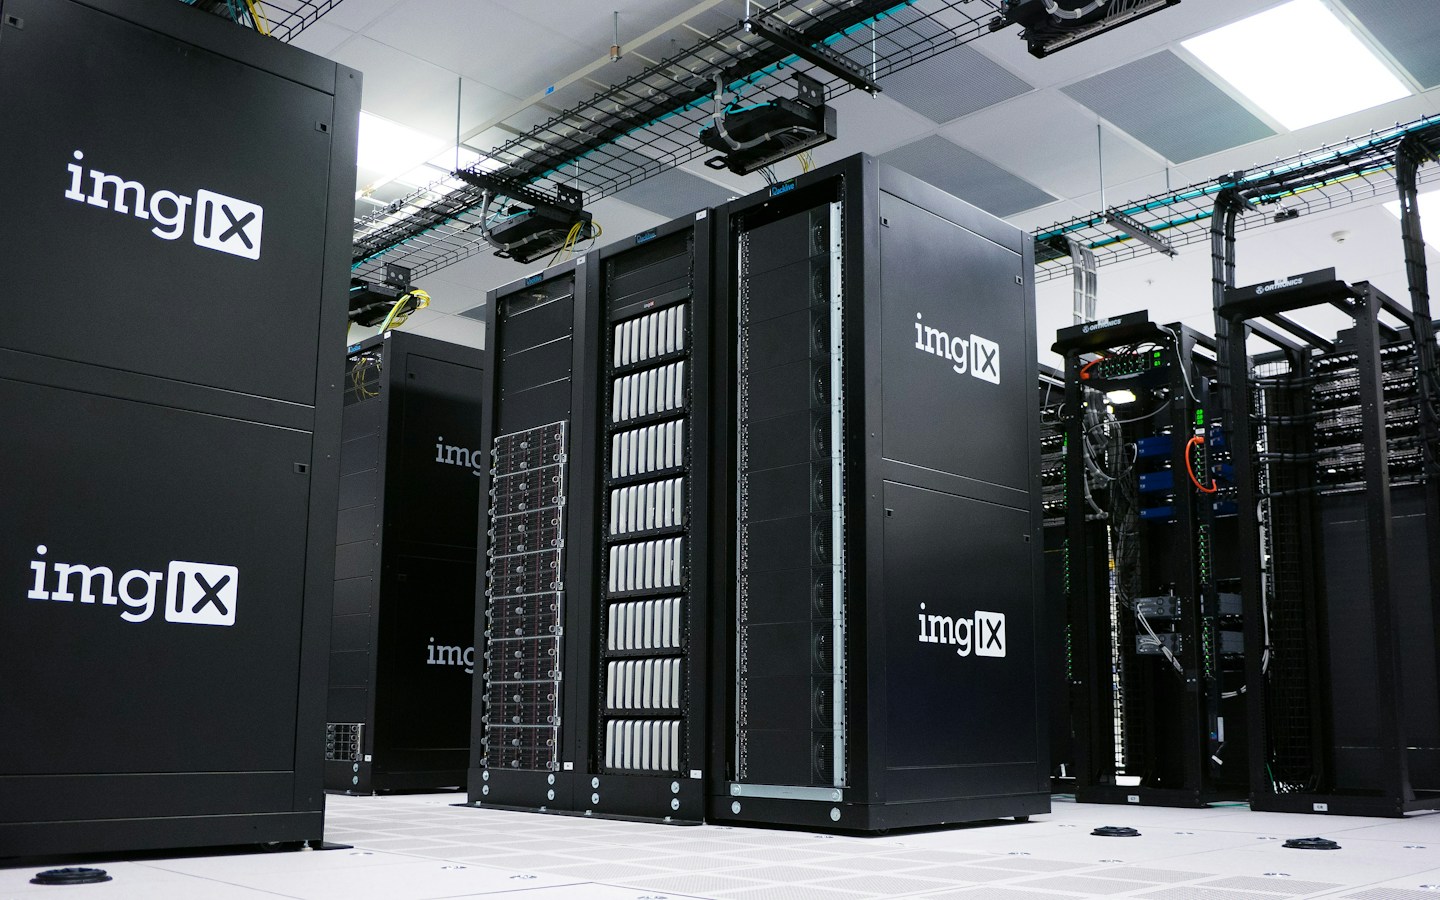
Representative computing infrastructure photograph; ये सामान्य server racks हैं, किसी specific Bitcoin ASIC rig की photo नहीं. Photo: imgix / Unsplash
On this page
Crypto mining को अक्सर ऐसी कमाई बताया जाता है जिसमें मशीन चालू करते ही coins आते रहते हैं। असल में hardware, बिजली, network conditions और coin price, सब परिणाम को प्रभावित करते हैं। Mining समझने की शुरुआत मशीन खरीदने से नहीं, उस network और उसकी costs को समझने से होनी चाहिए जिस पर आप काम करना चाहते हैं।
यह guide अपने या अनुमति प्राप्त hardware पर lawful mining की शुरुआती प्रक्रिया समझाती है। किसी website visitor, office computer या दूसरे व्यक्ति के cloud account पर छिपकर miner चलाना इसका हिस्सा नहीं है। नीचे कोई fixed profit, daily earning या payback period नहीं बताया गया है।
हर cryptocurrency को mine नहीं किया जा सकता
Proof-of-work networks में mining block production और consensus process का हिस्सा है। Bitcoin developer guide solo तथा pool mining का workflow समझाती है। Bitcoin में hashing work के लिए specialised ASIC hardware इस्तेमाल होता है। केवल सामान्य laptop का नाम “mining machine” रख देने से वह competitive setup नहीं बन जाता।
Ethereum का मामला अलग है। उसकी official mining documentation स्पष्ट बताती है कि proof-of-work mining बंद हो चुकी है और network proof of stake पर चलता है। पुराने “ETH GPU mining” videos को current Ethereum Mainnet instructions न मानें। किसी दूसरी chain पर GPU mining होने का अर्थ Ethereum mining फिर शुरू होना नहीं है।
Step 1: network और hardware की compatibility समझें
जिस coin/network के लिए setup सोच रहे हैं, उसकी current consensus method और mining algorithm official documentation में पढ़ें। फिर hardware manufacturer के manual में support, power requirement, operating conditions और firmware instructions देखें। Hash-rate का बड़ा number अकेला comparison नहीं है; उसे power consumption और hardware cost के साथ पढ़ें।
पुरानी machine खरीद रहे हों तो condition, service history और accessories पूछें। Seller से केवल earning calculator का screenshot लेने के बजाय exact model और measured operation की जानकारी लें। Hardware की resale या भविष्य में मिलते रहने वाले rewards को guaranteed value न मानें।
Step 2: बिजली और जगह का वास्तविक हिसाब बनाएं
नाममात्र की wattage के साथ actual wall consumption और cooling का खर्च भी relevant हो सकता है। Suitable circuit, load, ventilation और fire safety की जरूरत qualified electrician तथा manufacturer guidance के अनुसार समझें। घरेलू extension board या wiring को अनुमान से high-load equipment के लिए इस्तेमाल न करें।
Calculation का काल्पनिक example लें: कोई setup लगातार 3.5 kW लेता है तो 24 घंटे में 84 kWh energy होगी। अगर illustrative tariff ₹8 प्रति kWh रखें तो केवल उस energy का खर्च ₹672 प्रतिदिन बनता है। यह किसी machine का verified consumption या आपके शहर का current tariff नहीं है। Cooling, taxes, downtime और hardware cost इसमें शामिल नहीं हैं।
Actual calculation अपने applicable electricity tariff, measured consumption और operating hours से करें। कम operating hours cost घटा सकते हैं, मगर productive hashing time भी बदलता है। दोनों पक्ष साथ देखें।
Step 3: wallet और pool की तैयारी करें
अपने chosen network के compatible wallet और receiving-address format को समझें। Seed phrase या private key किसी pool operator को नहीं देनी होती। Address की chain और spelling गलत होने पर payout problem हो सकती है; copy-paste के बाद भी displayed address मिलाएं।
Pool mining में rewards कई participants के contributed work के आधार पर बाँटे जाते हैं। Pool की current payout method, fees, minimum payout, supported network और withdrawal conditions पढ़ें। बहुत छोटे payouts या reduced variance का मतलब fixed daily return नहीं है। Solo mining में rewards का waiting time और variance काफी अलग हो सकते हैं।
Step 4: manufacturer के अनुसार configure और monitor करें
Hardware को intended network और power setup पर जोड़ें। उसके official administration interface में manual के अनुसार pool endpoint और worker details भरें। Default credentials बदलें, official firmware source इस्तेमाल करें और interface को अनावश्यक रूप से public internet पर expose न करें। किसी random download को speed booster समझकर install न करें।
पहले trial run में temperatures, reported hash rate, rejected shares और connection stability देखें। Pool-side accepted work तथा actual power reading को साथ note करें। केवल miner की local dashboard पर बढ़ता number देखकर payout या profit मान लेना अधूरी जांच है। कोई unusual heat या electrical issue हो तो equipment guidance के अनुसार रोककर उचित सहायता लें।
Step 5: gross payout से आगे देखें
अपने record में earned coins, received payouts, energy cost, pool fees, maintenance और downtime अलग रखें। Fiat value coin price बदलने से बदलती रहती है। Revenue से costs घटाने के बाद भी hardware purchase को recover करना बाकी हो सकता है। India में अपने operations पर लागू tax, electricity-use और अन्य obligations के लिए current rules तथा qualified professional से guidance लें।
Cloud mining में machine दिखाई न देने पर counterparty की जांच और कठिन हो सकती है। “Guaranteed daily payout”, withdrawal unlock करने के लिए अतिरिक्त deposit या remote access मांगने वाले अनजान messages पर पैसा भेजने से पहले दावे independently जांचें। सीखने के लिए local test environment या network की test facilities उपलब्ध हों तो real-money hardware purchase से पहले concepts समझ सकते हैं।
Frequently Asked Questions
क्या phone से profitable Bitcoin mining मान सकते हैं?
ऐसा दावा केवल app में number बढ़ने से सिद्ध नहीं होता। Actual network work, payout और सभी costs देखें।
क्या Ethereum Mainnet अभी mine होता है?
नहीं। Official Ethereum documentation mining बंद होने और proof of stake पर transition की पुष्टि करती है।
क्या mining pool में profit तय रहता है?
नहीं। Work, network conditions, payout rules, coin price और आपकी costs बदल सकती हैं।
Article at a glance
- Written by
- Aarav Sharma
- Published
- 01 Nov 2026
- Reading time
- 6 minutes
- Topic
- Technology & Security
Read More Blogs
Free Fire India Download: सही app, publisher और safe install कैसे पहचानें?
Free Fire India की चर्चा के बीच official Google Play link, publisher identity और install-screen checks समझें। Fake APK, reward links और गलत app से बचने की practical guide।

MacBook Pro M6 India: ₹2,39,900 से शुरुआत, pre-order और खरीदने से पहले की checklist
Apple ने 14-inch MacBook Pro with M6 घोषित किया। India की शुरुआती कीमत, pre-order date, availability और configuration चुनने की उपयोगी बातें पढ़ें।
PHP Security Update October 2026: website owners को क्या check करना चाहिए?
PHP की official advisory में दो critical vulnerabilities और patched releases बताए गए हैं। Website owner के लिए hosting version, vendor confirmation और update verification की checklist।
Be the first to share your thoughts.
Comments 0